In the world of visuals and photography, focusing on the right object is important. Many times, we click the pictures but our focus object is surrounded by many unnecessary objects that affect the beauty of the image. Also, it will diminish your storytelling skills as well. In this scenario, cropping plays a crucial role. With the help of cropping, you can craft your narrative, make the essential details focused, and put emotions into it. If you don’t know how to crop a photo, then don’t worry at all. We are here to guide you thoroughly and completely about the art of image cropping.
Why Cropping is Important?
If you are thinking is it worth cropping a photo or I should go with the same image, nothing will matter. Then you are wrong, many reasons make cropping important, which include –
- Well Framing –Cropping a photo allows you to frame your main object effectively present it well and enhance its charm.
- Involvement of the Composition –Cropping helps in refining the composition of your photo. It avoids image distractions and empty spaces that are only capturing the extra spaces.
- Focus on the Main Subject –Cropping allows you to zoon in your main object and make it own the photo completely.
- Quality of the Photo –Cropping allows your photo to stay with the same resolution without affecting its quality.
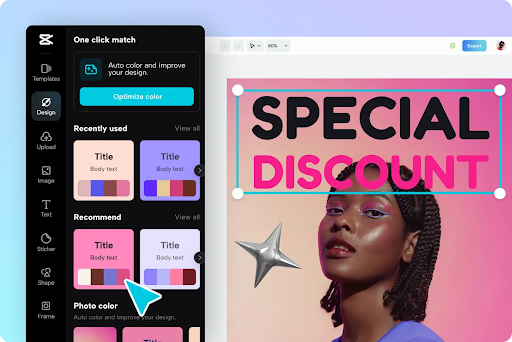
How to Crop a Photo Easily
If you do not know how to crop a photo easily then follow these steps to get a perfectly cropped picture –
Step 1: Select Editing Tool
There are many online tools available that can help you in cropping the photo effectively. All you need to do is to choose your preferred tool on your device. Some tools are for professionals but on the other side, some tools come with a user-friendly interface.
Step 2: Importing Photo on the Tool
The next step is to select the photo that you want to crop and import it to the tool you have selected in the previous stage. When you open the editing tool, it will ask you to import your photo to it so that you can crop it. Once you click on the import image option, you can easily access the file menu from where you can select the image and click on open to import it on the editing tool.
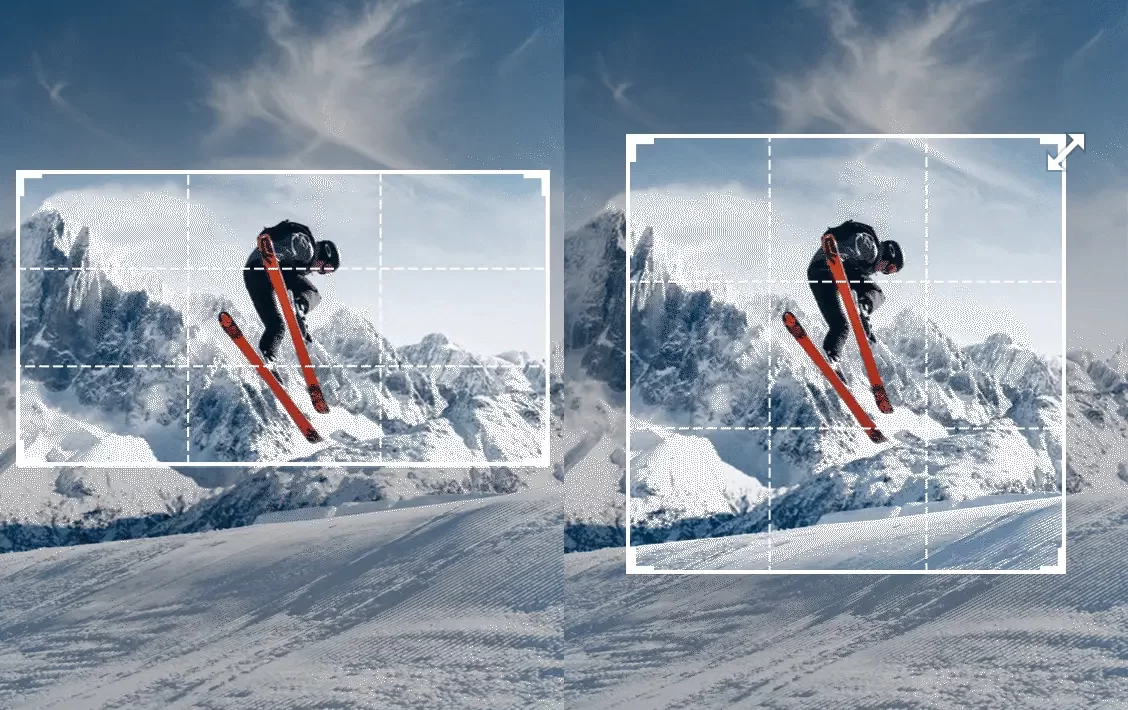
Step 3: Select the Crop Tool
Once your selected photo is loaded into the editing tool, the next step is to select the crop tool. You can identify the crop tool by its square or rectangle-shaped icon. You can also search for this in the main menu of the editing tool. Once you select this crop tool icon, it will activate your photo screen. Now you have to specify which part of the photo you want to crop.
Step 4: Choose the Ratio
When you are using the crop tool, it will give you the option to select the aspect ratio for your photo. These ratios can be 4:3, 1:1, 16:9, and others. These ratio proportions will help you to give your photo the required width and height. You can select the size according to your need like uploading it to social media or others. Also, you are free to not choose any of the ratios and opt for your cropping size.
Step 5: Adjust the Crop Box
If you want to decide the size of your cropped image by yourself then this is an important step. You can select the cropping tool, click on it, and drag it to create a cropping box. This cropping box shows the selected part of the photo that you want to keep. You can try using the clicking and dragging process till you don’t get your perfect cropping size.
Step 6: Fine-tune the Crop
If you are learning how to crop a photo then fine-tuning the crop is essential. It will support you to get the desired composition. You can use the corners of the crop box and drag it to make it more visually appealing. It is for providing the image with a nice balance from all the sides and corners. Also, you can eliminate the unwanted elements from your photo before going to the final stage.
Step 7: Preview the Crop
Before you click on the apply crop, first preview the photo and ensure that it is finely cropped. If you find that there is some need to crop it a little bit more from the sides or want to exclude some elements from the photo, then you can go back to the click-and-drag cropping process. If you find, everything perfect, then you can go with the next process.
Step 8: Apply the Crop
This is the final step of how to crop a photo. When you are sure that the crop selection is fine from your side then it is time to apply the crop option. You can find this option with the name of either Crop or Apply. You can select it and the editing tool will give you the cropped photo in seconds.
You can further save the photo or export it to your preferred location.
Conclusion
Cropping is useful to enhance the look of the picture. It not only enhances the focus on the main object but also makes the photo look more attractive and visually appealing. We are sure that you now understand how to crop an image. These are very easy steps and no technical knowledge is required to use it. You can follow the steps and get a perfectly cropped image in just a few minutes. Also, these steps apply to every type of editing tool so don’t worry about which editing tool to go with. Apply the steps and get a cropped image.